Physical Address
304 North Cardinal St.
Dorchester Center, MA 02124
Physical Address
304 North Cardinal St.
Dorchester Center, MA 02124
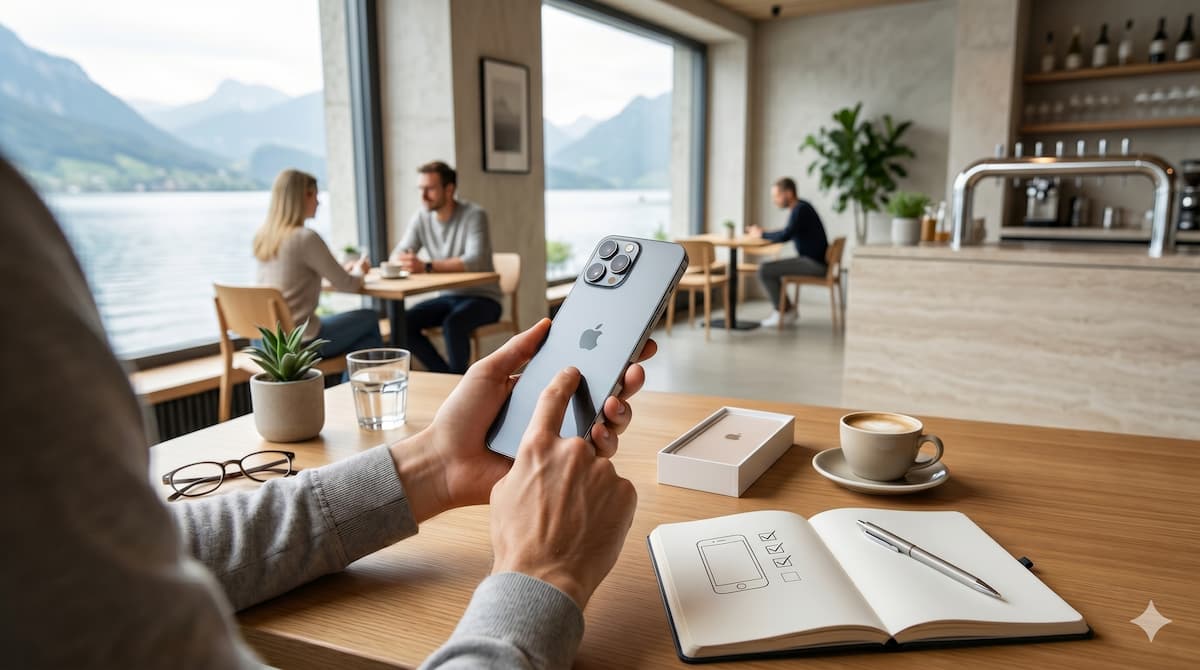

Buying a used iPhone in Switzerland — whether from Ricardo, Tutti, or a private seller — can save you hundreds of francs. But it can also cost you dearly if you skip the right checks. After buying and inspecting dozens of iPhones, I’ve put together this complete checklist that covers everything you need to do, in the right order, before handing over your CHF.
Apple has actually made things easier in recent years. The iPhone now shows you repair history, battery health, and even whether parts have been replaced — all built right into the settings. But you still need to know where to look and what to ask. This guide will walk you through every step.
WHAT YOU WILL CHECK
The Fix Mission is currently run by me personally. With 5 years of experience in phone repair, buying, and selling, I offer free advice before you buy a used phone, sell your current device, or pay for a repair. My goal is simple: help you make a safer decision before spending money.
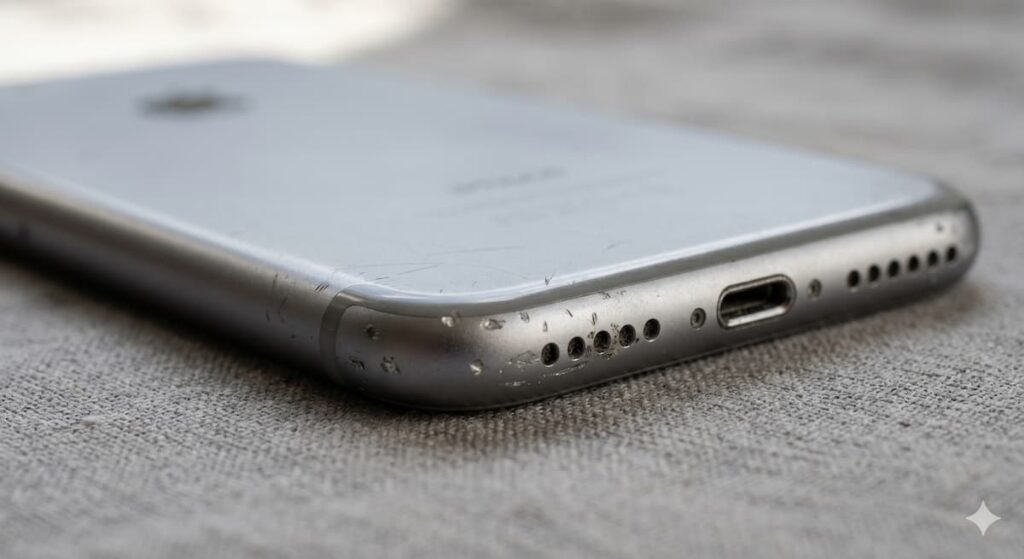
Get Free Advice →The very first thing to do when you meet a seller is to inspect the phone’s physical condition from every angle. This is not about being picky — it’s about knowing what you’re paying for. Even a small crack can indicate a serious drop that may have caused hidden internal damage.
Pro Tip
If the seller is reluctant to remove the case or screen protection, that is already a red flag. Always insist on seeing the bare phone.
This is where Apple has made your life much easier. Modern iPhones store a complete repair history right in the settings — and they will tell you directly if any part is not a genuine Apple component.
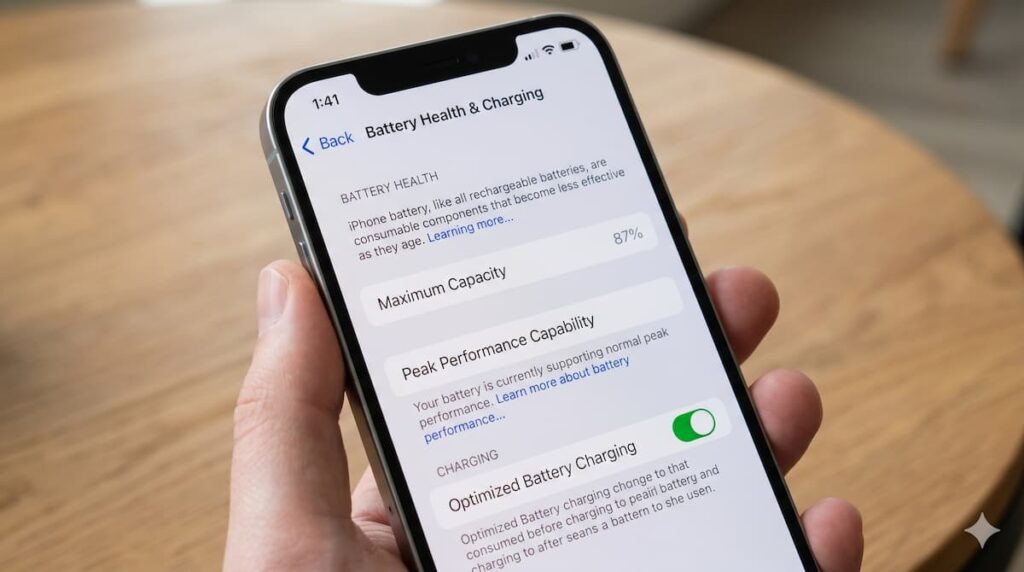
Settings → Battery → Battery Health & Charging
Look at the Maximum Capacity percentage. Anything above 85% is good for daily use. Below 80% means the battery will likely need replacement soon — use this as a negotiation point on price.
Settings → General → About
Scroll down to find the “Parts and Service History” section. If a part has been replaced — battery, screen, camera — it will show here as either Genuine Apple Part or Unknown Part.
WHAT “UNKNOWN PART” MEANS
It does not necessarily mean the phone is broken, but it does mean a non-Apple or uncertified part was used. A non-genuine screen may lose True Tone. A third-party battery may disable Optimized Charging. Always ask the seller to explain any “Unknown Part” entries.
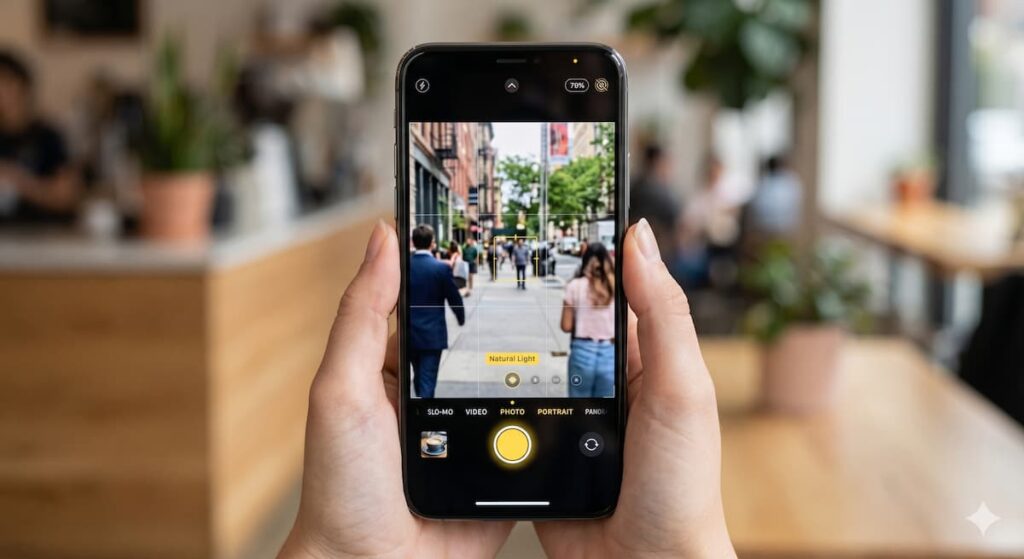
The camera is one of the main reasons people buy iPhones. Do not just take one quick photo and move on. Open the Camera app and test every single mode separately.
PRO TIP
Point the camera at a window or bright light source and slowly move it. Any flickering, green lines, or random artifacts on screen may indicate a damaged or non-genuine display/camera module.
One single test can check both the camera and the microphone at the same time: record a short video. This is one of the most efficient checks you can do.
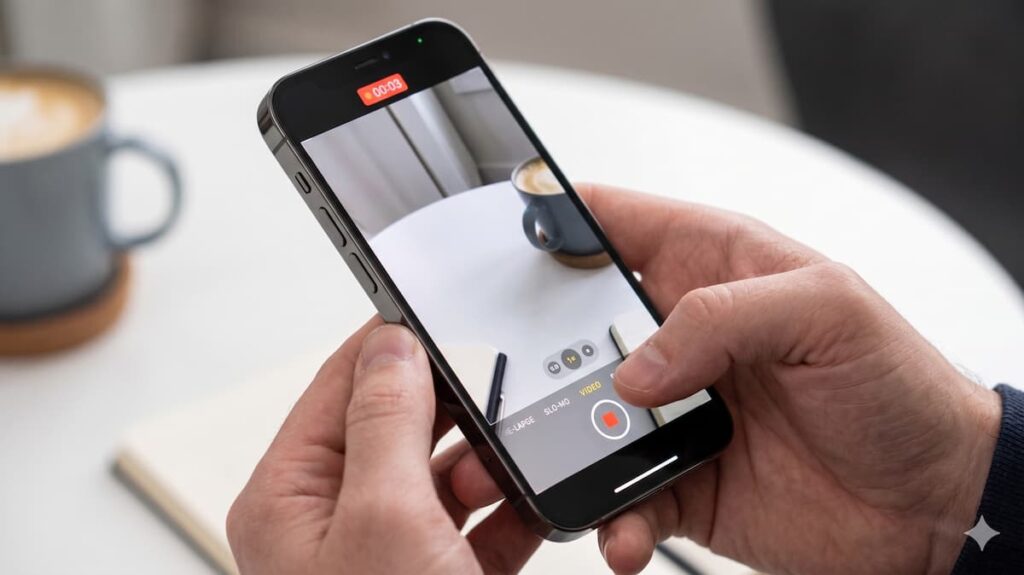
Open the Camera app, switch to Video mode, and record 15–20 seconds of footage. Talk normally while recording. Then play back the video with the volume up. You are checking for:
EXTRA MIC CHECK
iPhones have multiple microphones. Also test by making a quick voice memo using the Voice Memos app this uses a different microphone and can reveal issues specific to that mic.
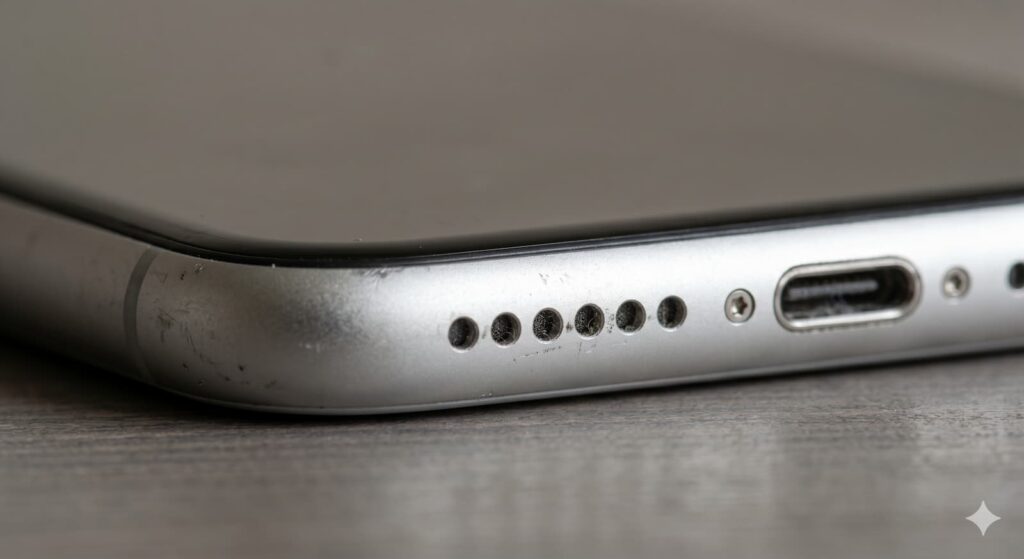
Play audio from both the earpiece (top speaker) and the bottom speaker. Each one serves a different purpose and both must work correctly.
SIMPLE TEST
Go to Settings → Sounds & Haptics and drag the Ringer and Alerts volume all the way up. Then check if vibration also works. A phone without working vibration can be frustrating in Switzerland, where silent mode is commonly used.
The IMEI number is the unique identity of every phone. Checking it confirms the phone is not stolen, not blacklisted by a carrier, and matches the original box. This is a non-negotiable step.
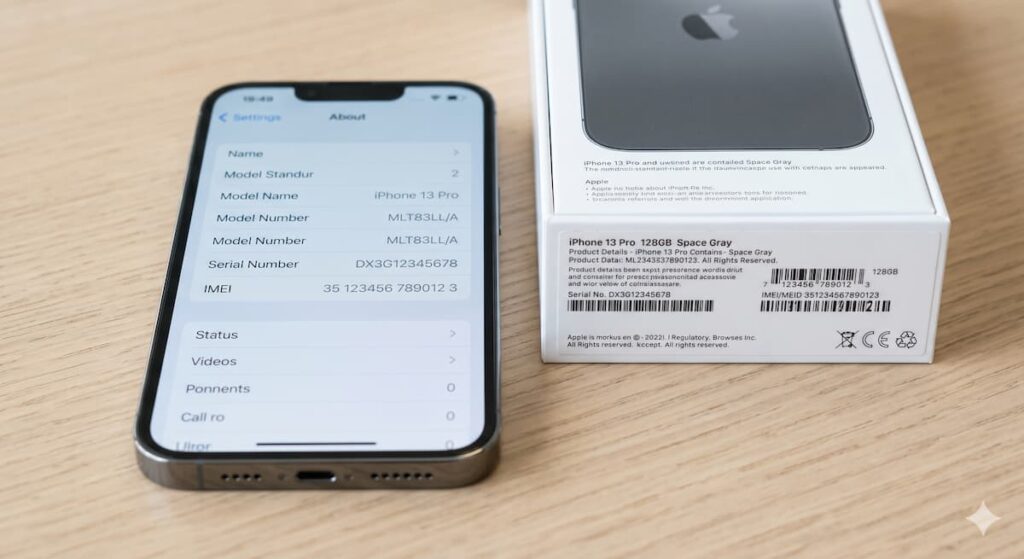
Dial *#06# on the phone
Settings → General → About → IMEI
Compare this number with the IMEI printed on the original box. They must match exactly. If the seller has no box, the IMEI is also engraved on the SIM tray of most iPhones.
ACTIVATION LOCK WARNING
Ask the seller to go to Settings → their Apple ID → Find My, and confirm Find My is switched off in front of you. If they cannot do this, do not buy the phone. A phone still linked to someone else’s Apple ID is completely unusable.
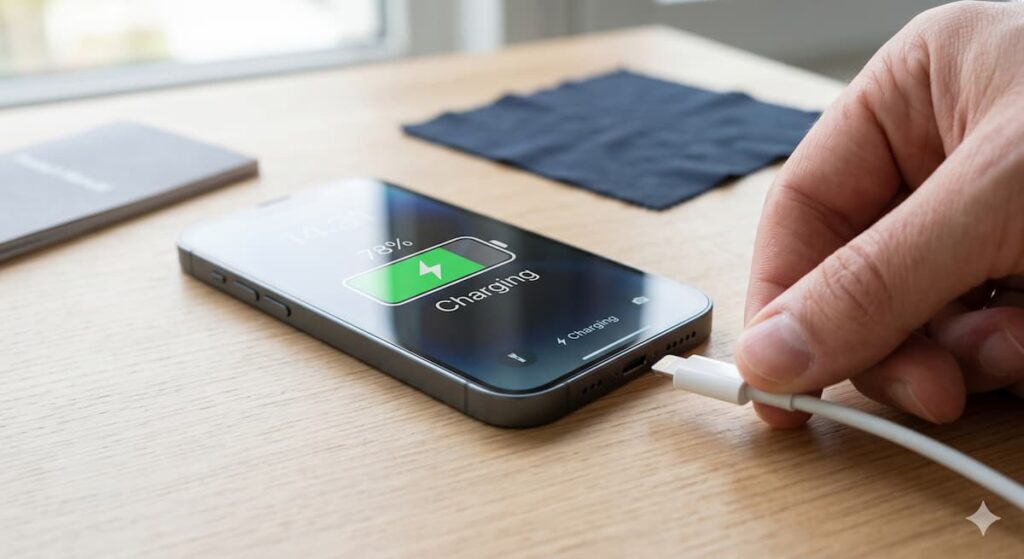
This is often forgotten, but very important. Plug the phone in and confirm it actually charges before finalizing the deal. Charging port damage is one of the most common hidden problems in used iPhones.
“Five minutes of careful checking at the point of sale can save you hundreds of francs in repairs later.”
Print this or screenshot before you go
Physical Condition
No dents, cracks, or hidden damage
Battery Health
85% or above in Settings
Parts History
Genuine Apple Parts shown in About
Camera All Modes
Photo, Portrait, 2x zoom tested
Video & Mic
Short video recorded & played back
Speakers
Both top and bottom speakers clear
IMEI Verified
Matches box, not stolen/locked
Charging Works
Plugged in before you leave
Always verify IMEI at checkcoverage.apple.com before purchasing any used iPhone
Need help before buying, selling, or repairing a phone? Visit the Free Advice page and send me your question.
The Fix Mission is currently run by me personally. With 5 years of experience in phone repair, buying, and selling, I offer free advice before you buy a used phone, sell your current device, or pay for a repair. My goal is simple: help you make a safer decision before spending money.
Get Free Advice →




Thanks for the help !
For sure I’m going to use again this service !
Merci pour ce guide complet, ca sera utile pour mon prochain achat
Very detailed and practical. The checklist is just what I will carry along and remember anytime I am going in for a used iPhone. Very helpful.
Thank you very much for this informations!